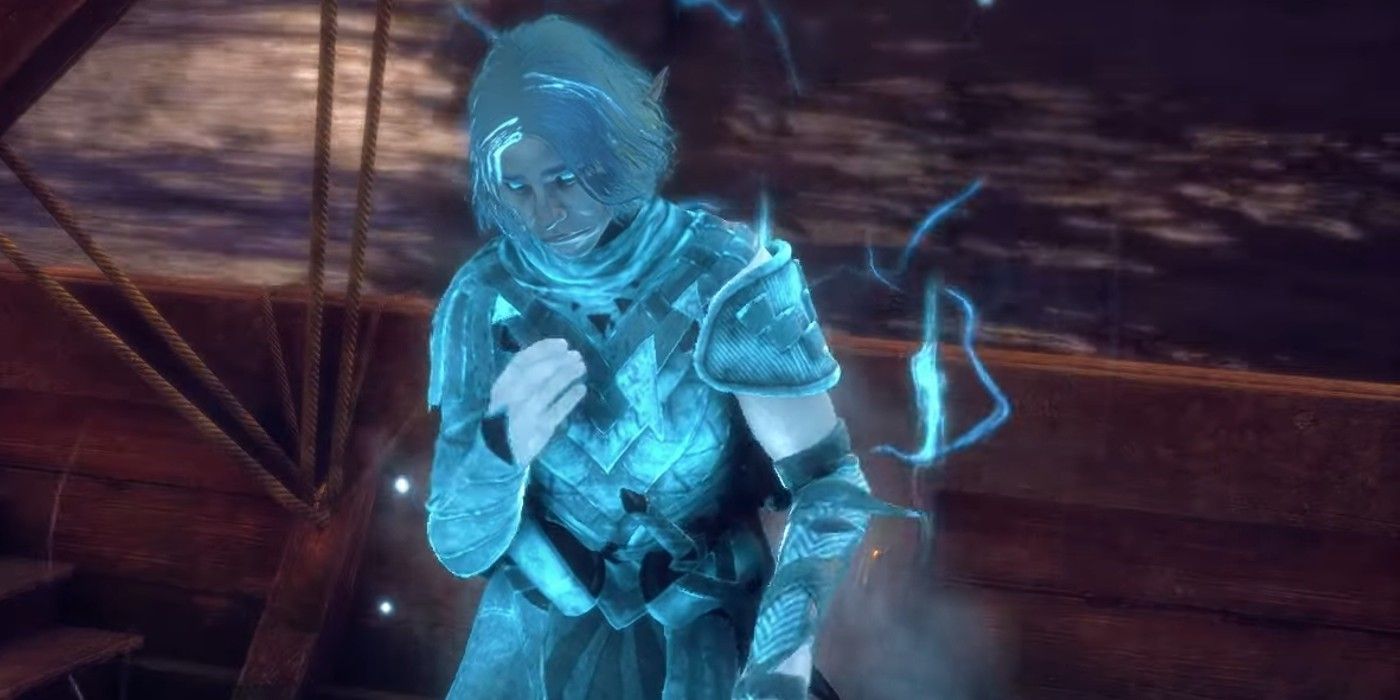
Location missions aren’t usually the most fun things to do in games, but Dragon Age: The Veil Guard has a different approach to the Inquisition. Instead of giving players more than a dozen locations spread across multiple maps, Dalish spirit souvenirs are few and easy to make in a single playthrough. You’ll appreciate Bioware for not insisting on spending hours and hours on this mission.
Searching for spirits will take you to Arlathan Forest and reward you with XP. You gain strength points from the Veil Jumpers, the faction you’ll encounter in Arlathan Forest. This is also the same area where you meet Bellara, a companion you can romance. It’s worth the effort; if you know where to go, it’s pretty quick.
How to start Spirits Of The Dalish Quest
Start making ghosts happy
To start the Spirits of the Dalish quest, go through the main quest of Dragon Age: The Veil Guard until you finish Sea of Blood main mission. Once done, return to Lighthouse and make an unknown directionwhich will be Harding’s companion mission. You have to go through this, or you won’t be able to reach the Ritual at the end of this mission.
During this side quest, you will eventually find yourself in Arlathan Forest to finish a spoiler-heavy portion of this side quest. Once done, head to the docks and go to the shipwreck to find a spirit. To learn more about finding the spirit, check out Practical guides‘ on YouTube above, which also shows the exact location. Talking to him will start the quest Spirits of the Dalish. Make sure you have Bellara too because she needs to complete the Ritual. Finding all the souvenirs is like finding the wolf figurines in Dragon Age: The Veil Guard; It’s a treasure hunt.
All Spirits Of The Dalish Souvenir Locations
First location – Halla figurine
Go to the middle of Arlathan Forest in Dragon Age: The Veil Guard and find that wolf statue. Behind the wolf statue there is a hill that goes down. Follow that hill and avoid the hazards as you go. You will see some dead Halla; turn to your right to see a large rock. Walk to the stone and investigate it to find the Halla Figurine.
This appears to be an area where rocks fall nonstop. Be careful not to get crushed like the person who had the Halla Figurine.
Second Location – Burnt Bodies
Go to the east side of the map, south of the chest, which is exactly where you found the last souvenir in Dragon Age: The Veil Guard. You will see a beautiful but broken bridge. Under the bridge there is a lake, and in the lake there are some wrecked boats. Follow the boat path to find the burned bodies.
Third place – well-bent note
On the north side of the map, which will also be north of where you found the last souvenir, you will find a bow with a blue aura in this in Dragon Age: The Veil Guard. Go to the side of the arch that doesn’t connect your light anywhere else, and you will see a cave with a chest. Enter to find two dead bodies and investigate them for the neatly folded note.
Fourth Location – Blood Splattered Diary
From the last souvenir, head west and then south, but as soon as you can, follow the path west to find the next souvenir in Dragon Age: The Veil Guard. Go to the grand entrance of the castle, but go past it and go to the roots of the stairs instead of going in. Jump on them and you’ll see the bloodstained diary waiting nearby.
Fifth location – torn page
Go back to where you started this journey in Dragon Age: The Veil Guardin the center of the map, and then head to the northern area, which is a square area. Run inside the square and go to the southwest corner of this part of the map. You’ll see what it looks like as an area of ritual sacrificeand the torn page will be at the center of this mess.
How to perform the rite
To finish this mission in Dragon Age: The Veil Guardgo back to where you started and talk to the spirit again. It will disappear and you will need to turn around and go behind the owl statue to a breakable wall. Harding must open it and have Bellara touch the small diamond-shaped object inside. Then, go up past where you see the diamond object and jump through the portal at the end of the path. Follow the short path afterwards and interact with the coffin to finish this quest.
Video credit: How-to guides/YouTube